
Makers Basics: Soldering
Welcome to the first tutorial of many! In this series, we will be going through some basic skills and techniques you’ll need to start making cool stuff! We will focus on what’s available at the lab, and only on basic skills. Feel free to send us a message on Facebook as to what other skills you’d like to learn
What is soldering and why do I need to learn it?
Soldering is the process of joining electrical components by using filler metal. This filler metal is called solder, and there are various alloys that are available, with different melting points, advantages and disadvantages. While soldering, you want to melt the solder but not the components.
Soldering
Before you start soldering, it is always good practice to tin your soldering iron as well as any wires you’d like to solder. When soldering, you should heat the component you’re soldering on, then apply solder to the that component. If your component is not hot enough, the solder wont stick onto it! However, do note that if you heat your component too long, you might melt some parts (like the wire insulation) attached to your component!


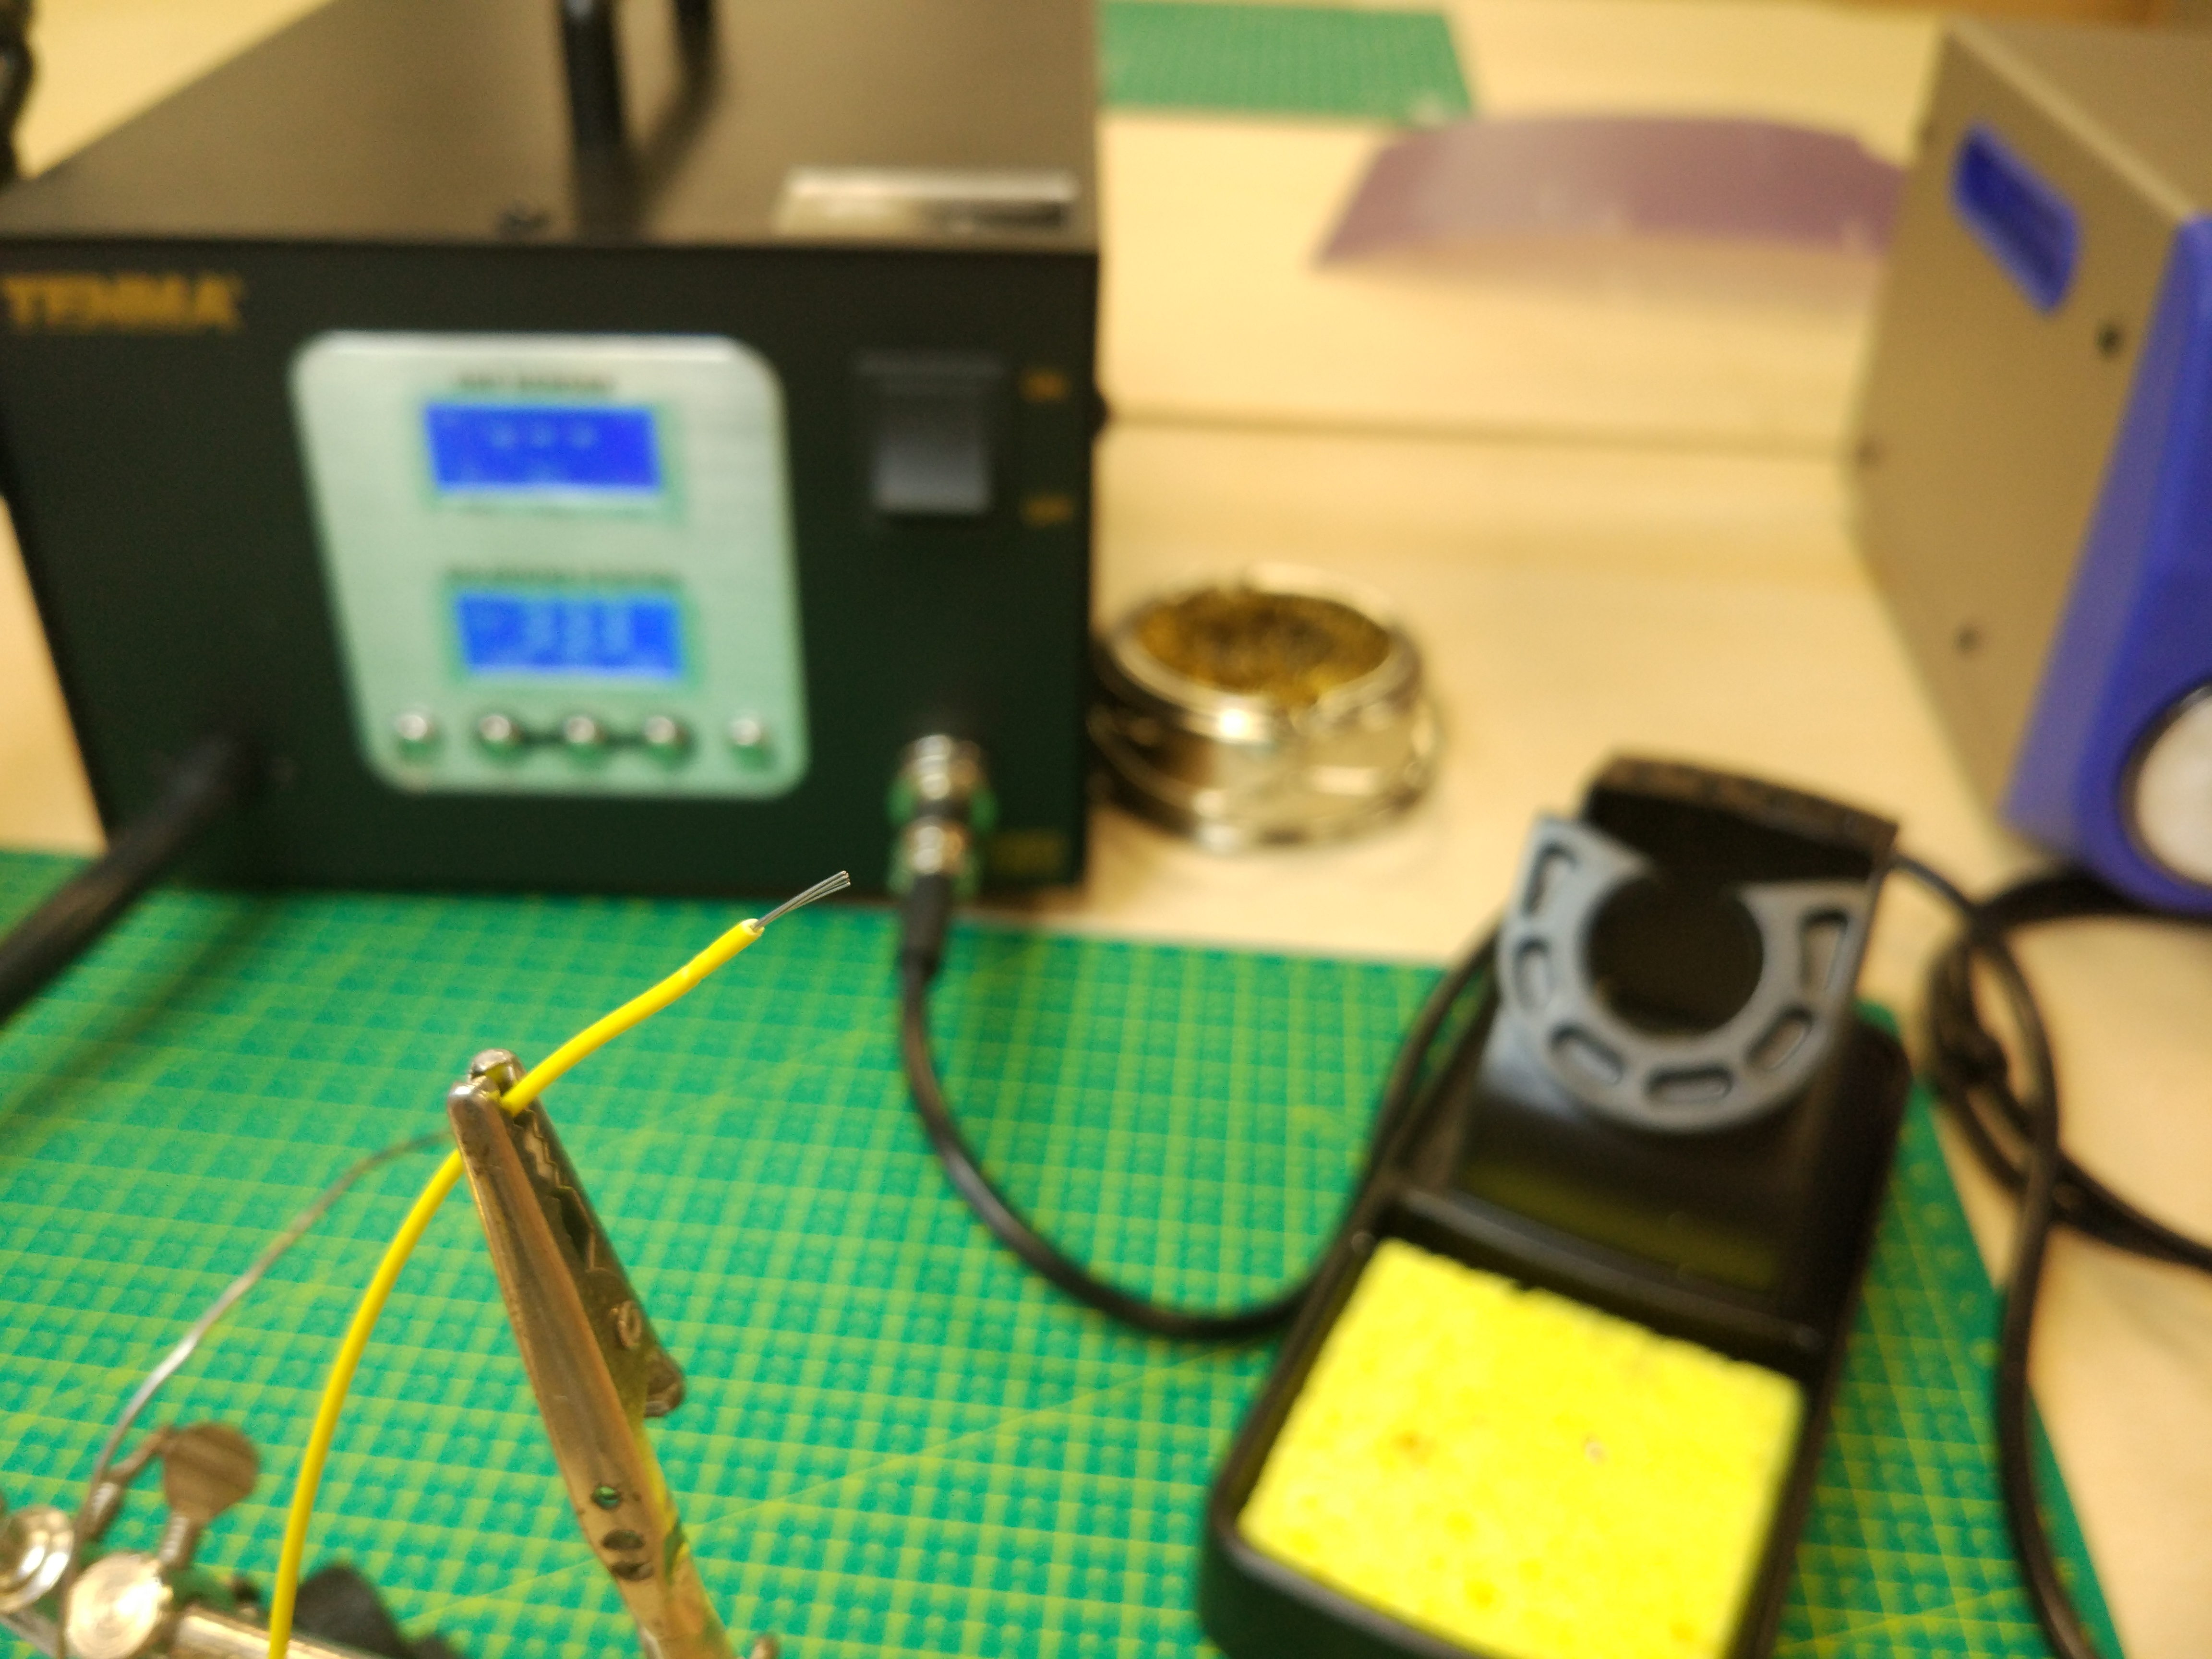
Tinning
You should ‘tin’ both components before you attempt to solder them. This coats the components so that they will attach together easily
To tin a wire, apply heat to the wire for a second or two, then apply the solder to the wire. The solder should flow freely onto the wire and coat it (if it’s stranded wire the solder should flow into it, and fill the wire).
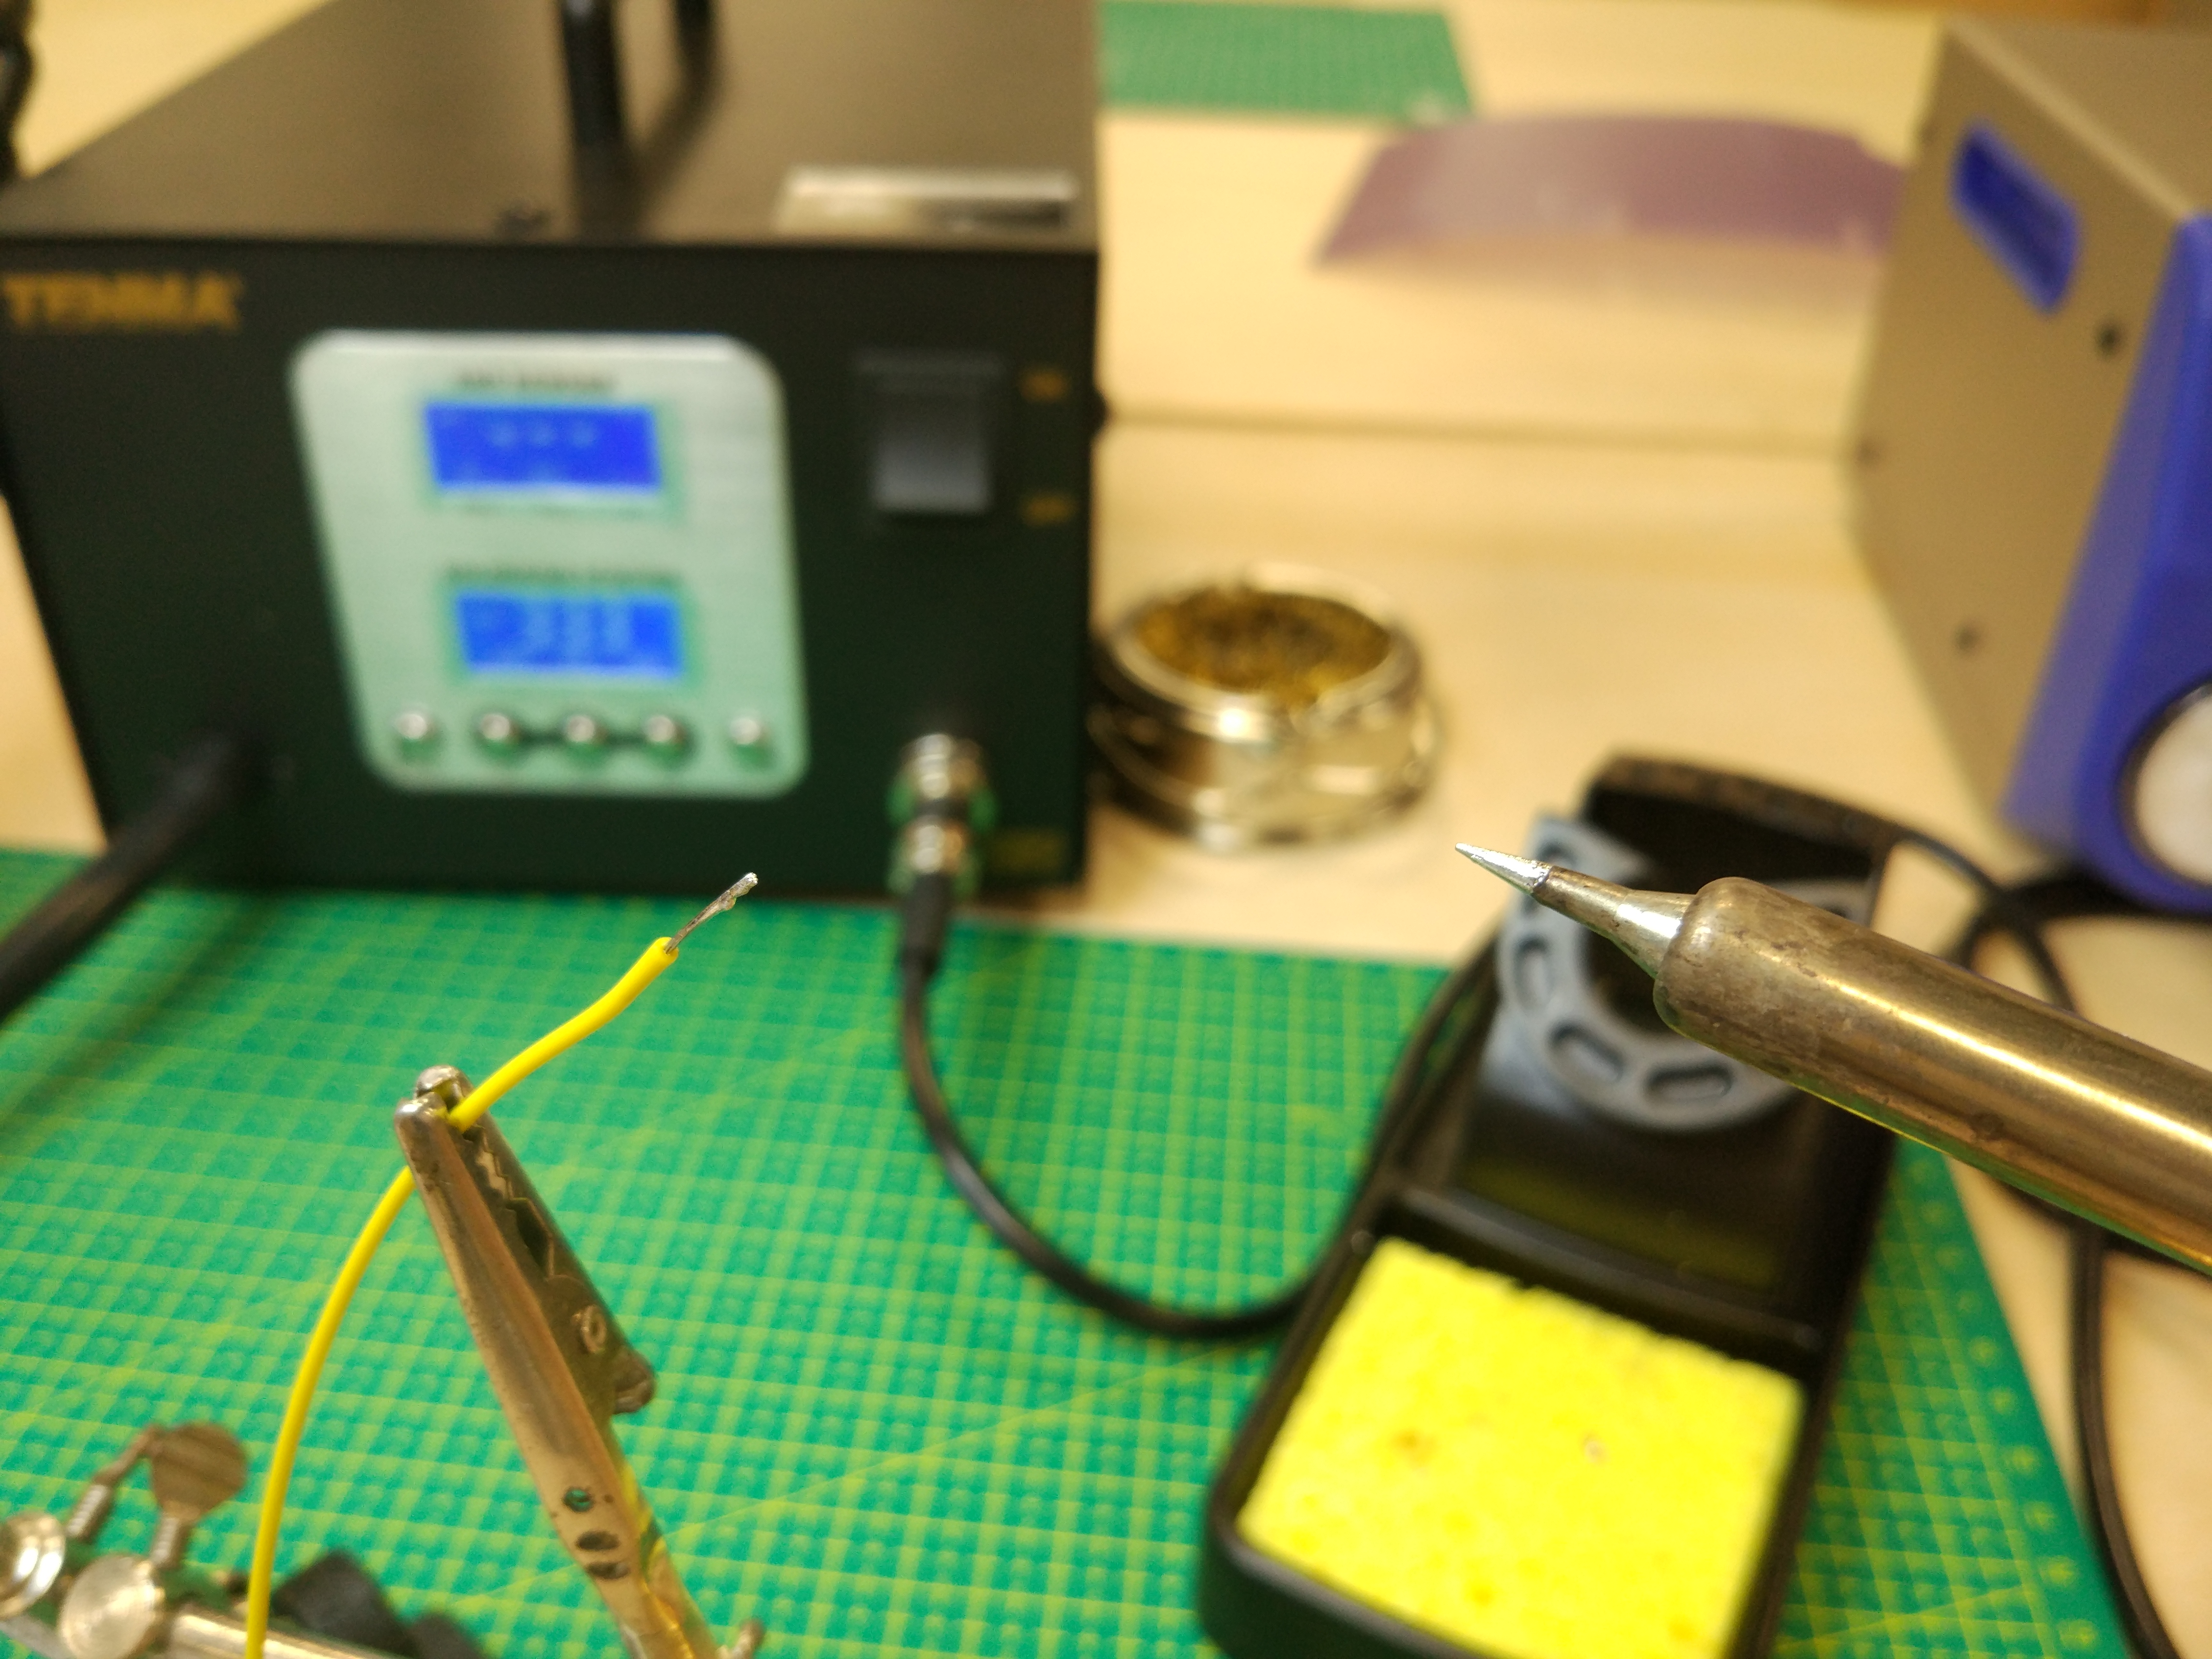
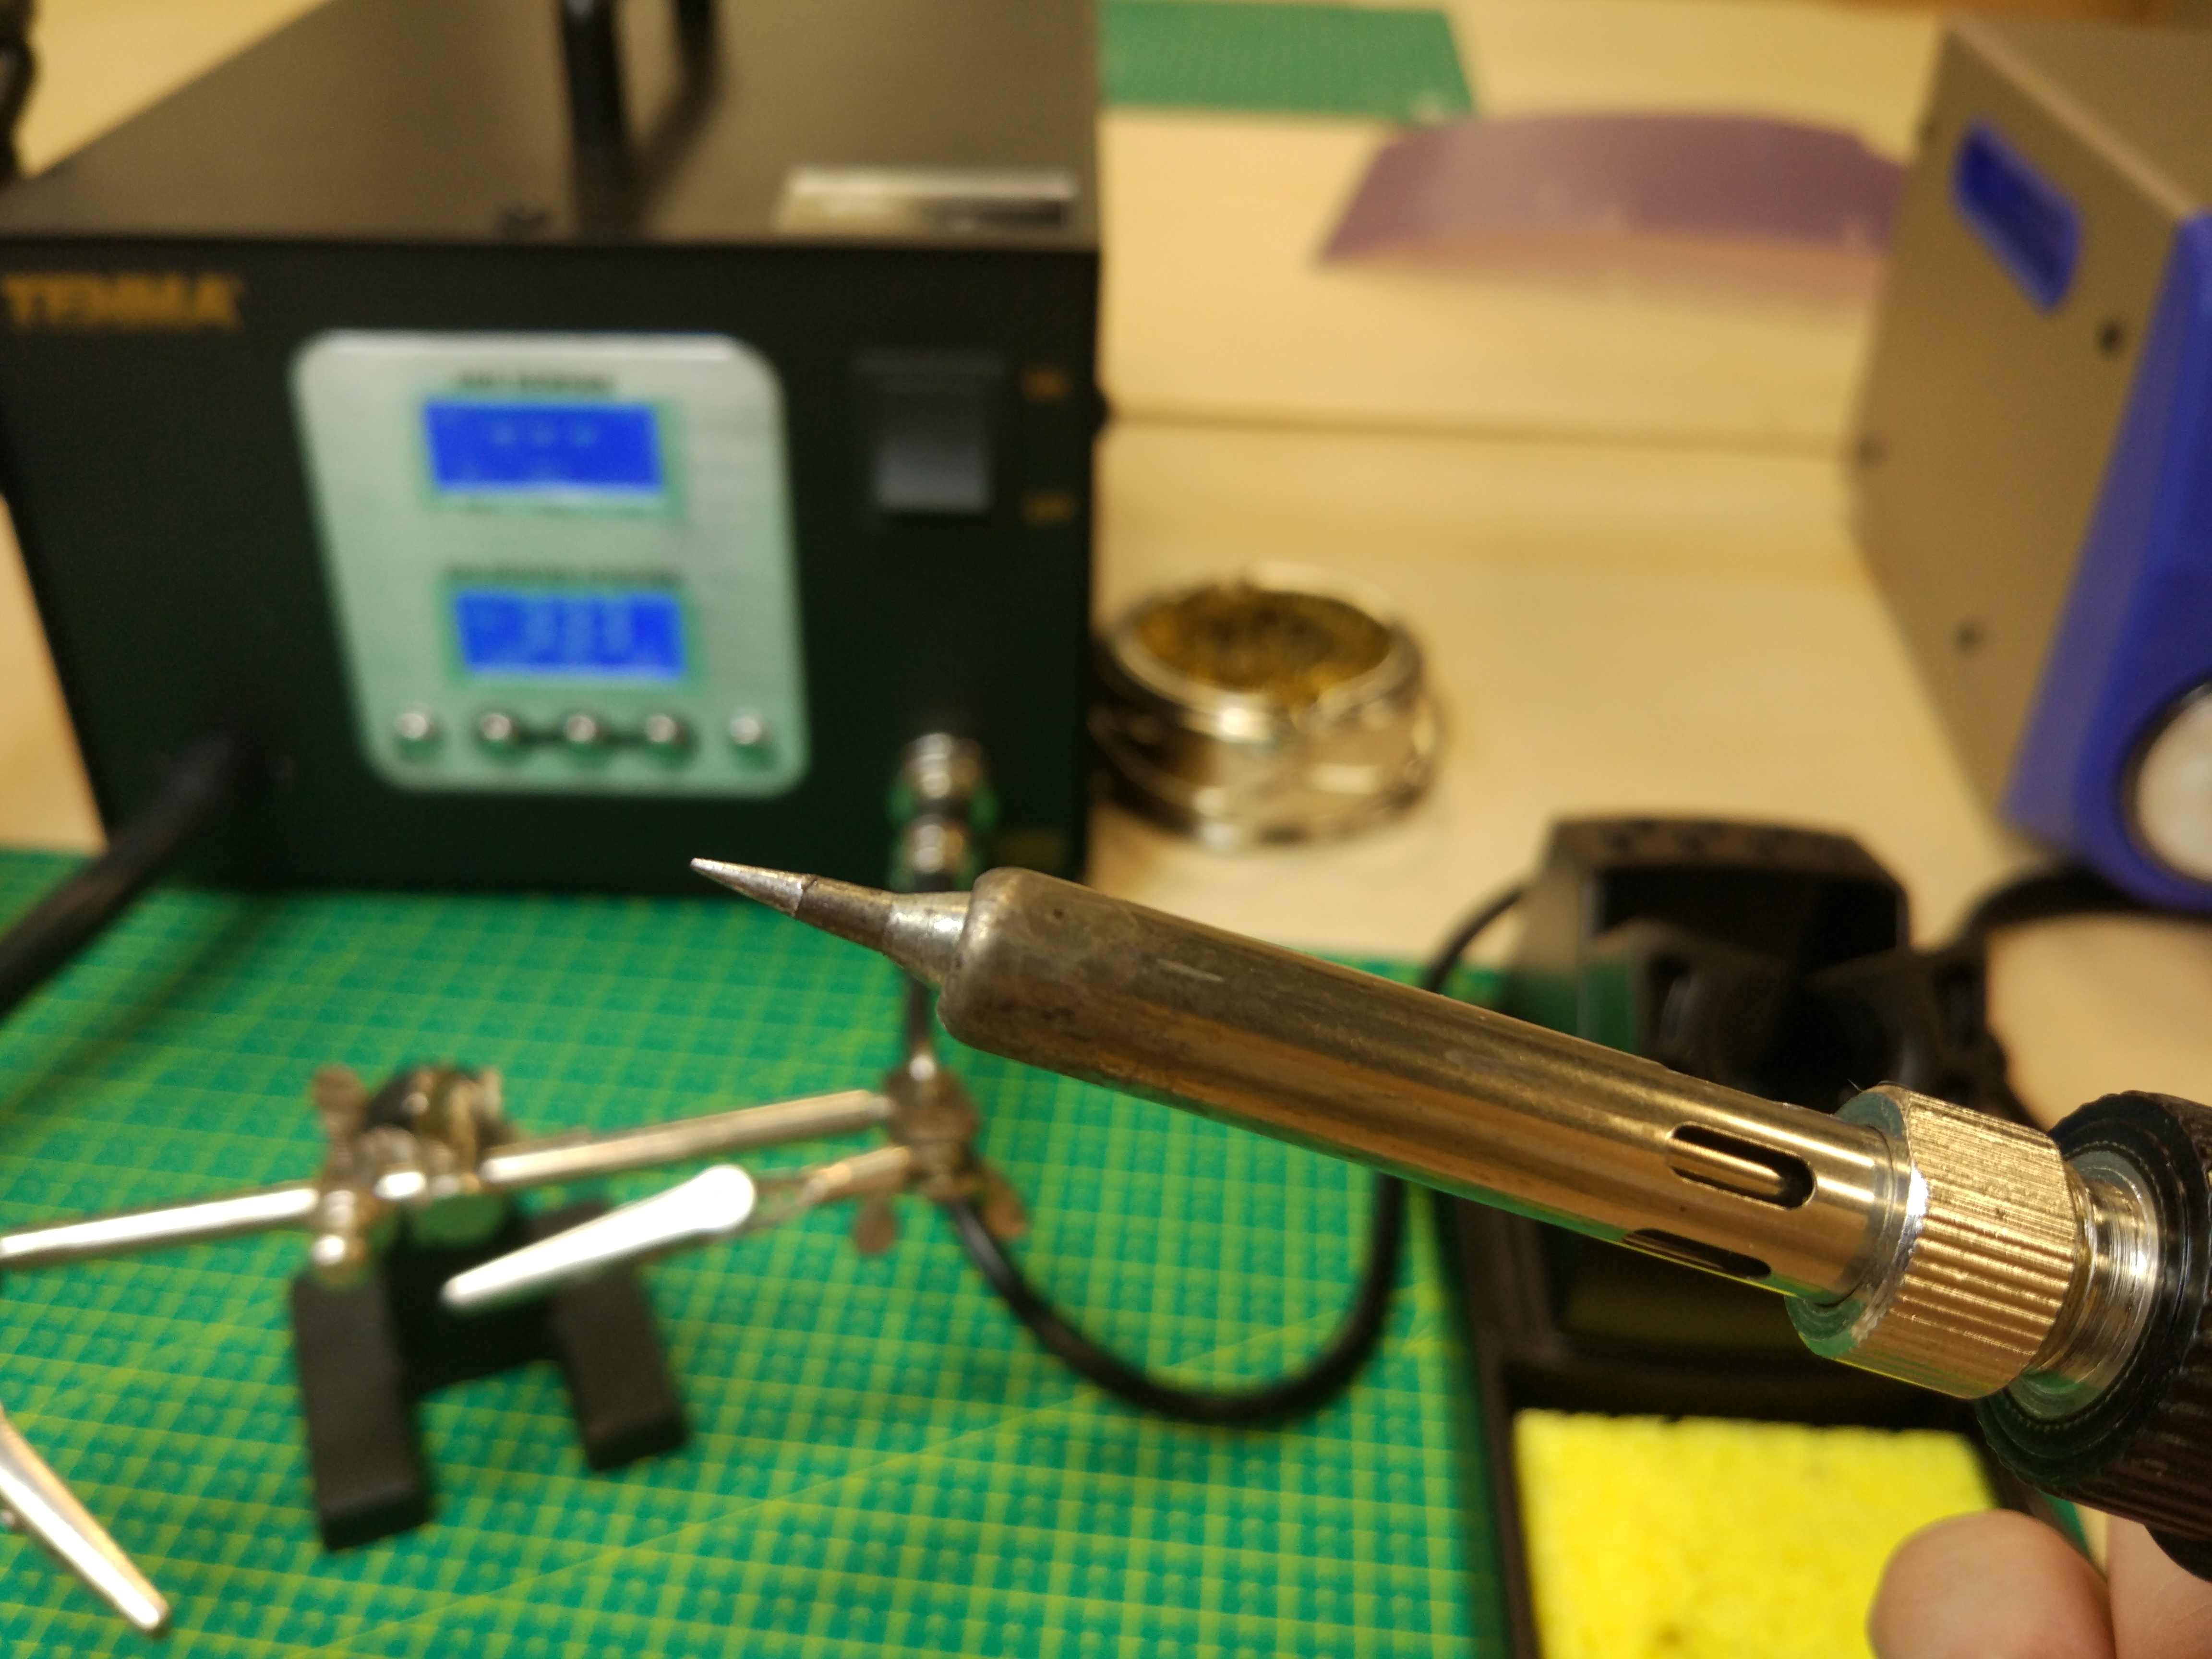
You should also tin your soldering iron before and after use!
Other Tools
In case you were wondering about some other tools in the lab, here are a few explanations on what they are and what they do!
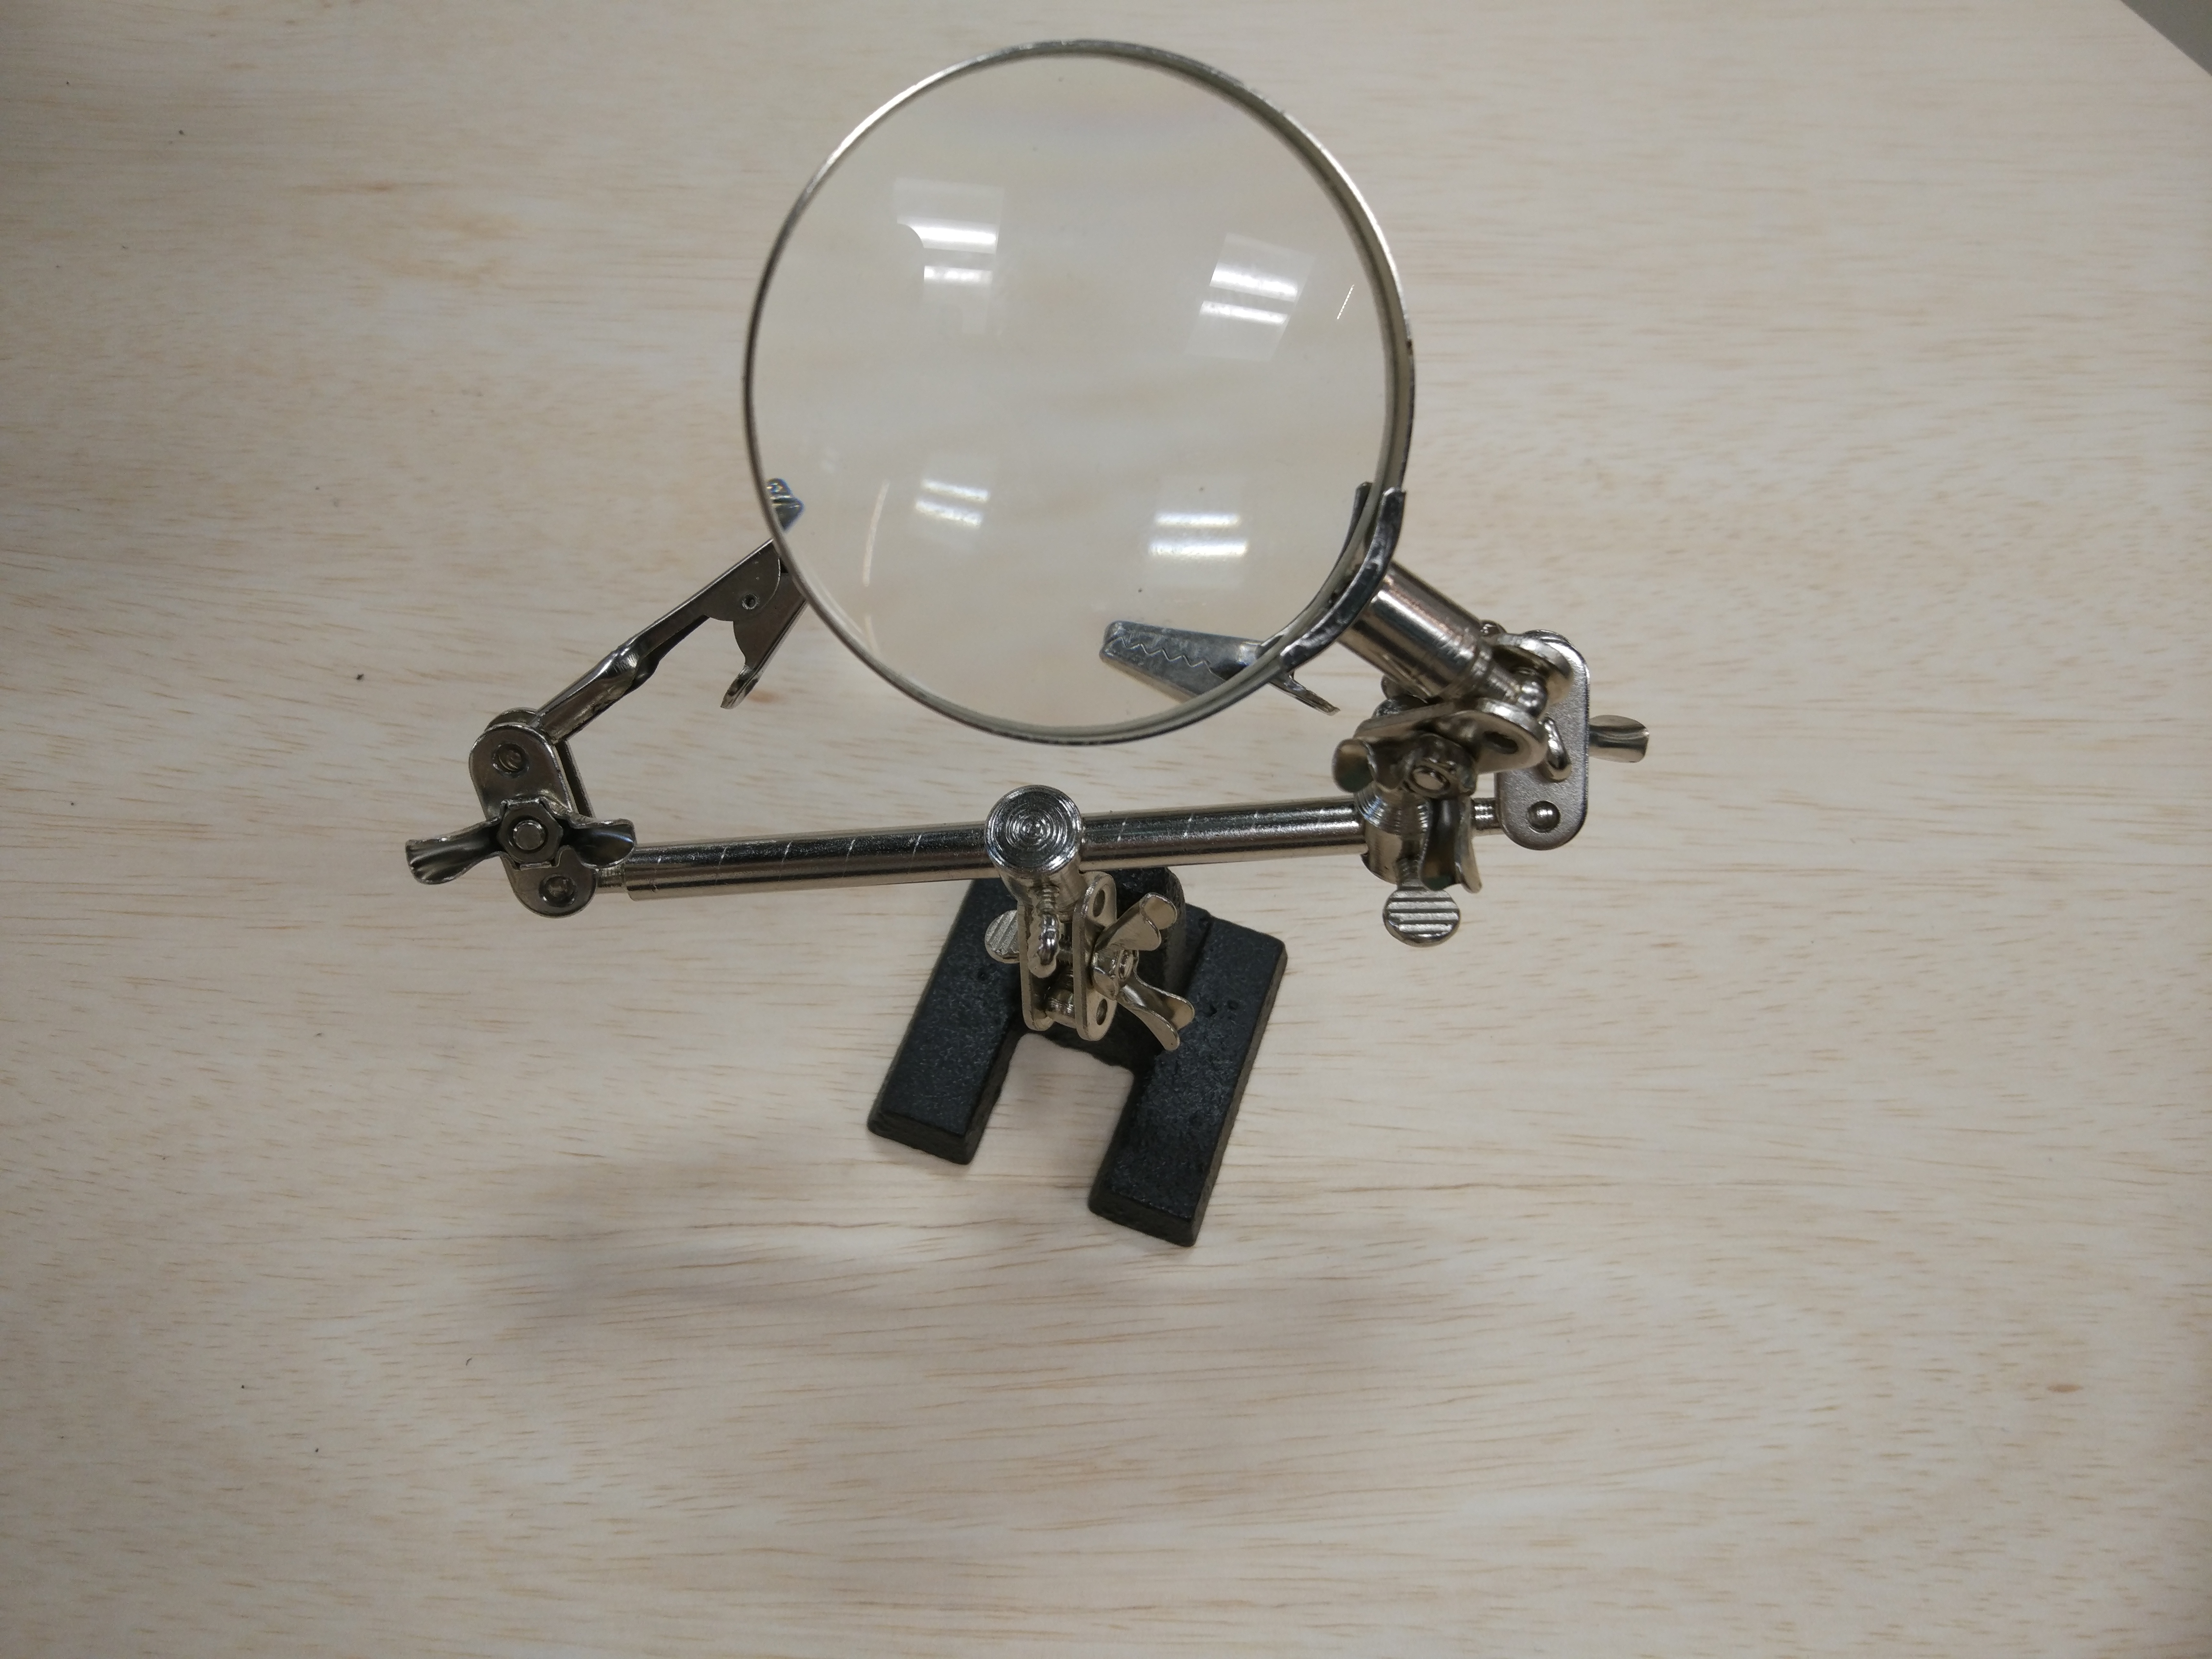
Third hand
Usually comes with a magnifying glass, a third hand comes with two (or more) crocodile clips to hold your components together while you solder them.
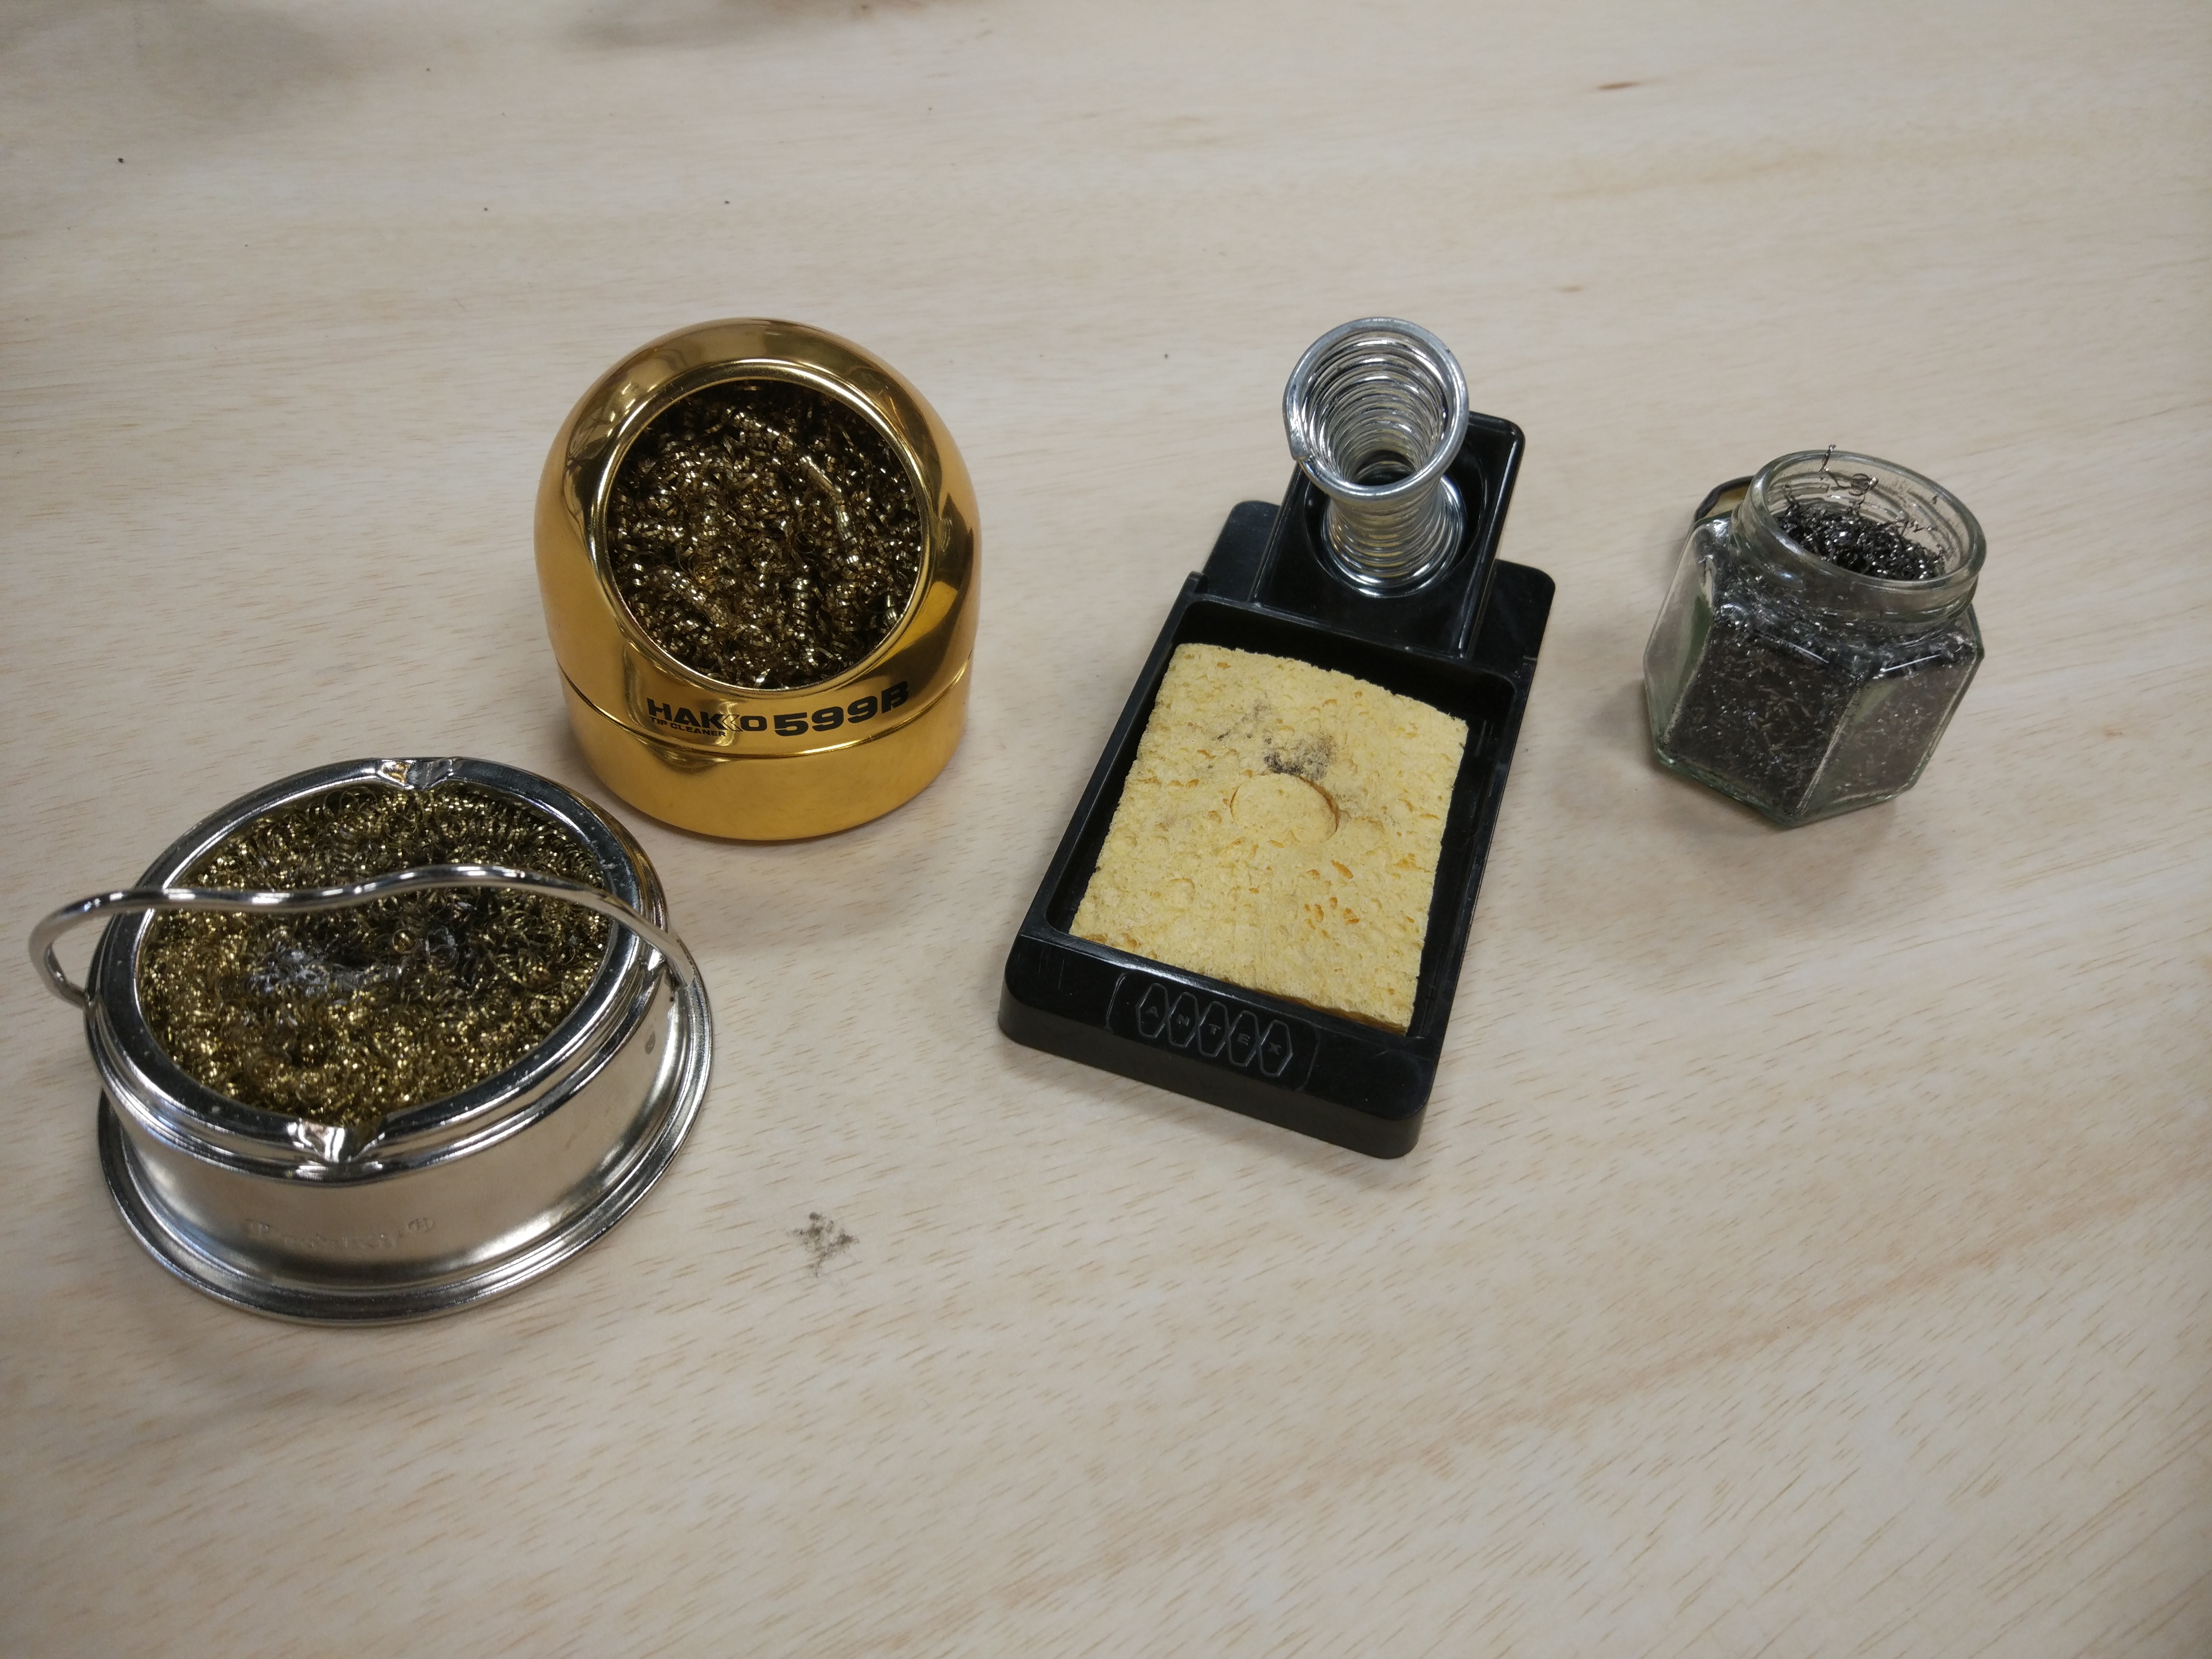
Cleaning equipment
In order to effectively tin your soldering iron, you’ll need to wipe off excess solder, here’s where soldering pads come into play. There are many different types, the most commonly used ones contain steel wool, but there are special sponges (you MUST wet them first, damp but not soaking) that can be used as well. You can also make your own with a jam jar and some steel wool bought from a supermarket, like the one in the image below, right side :
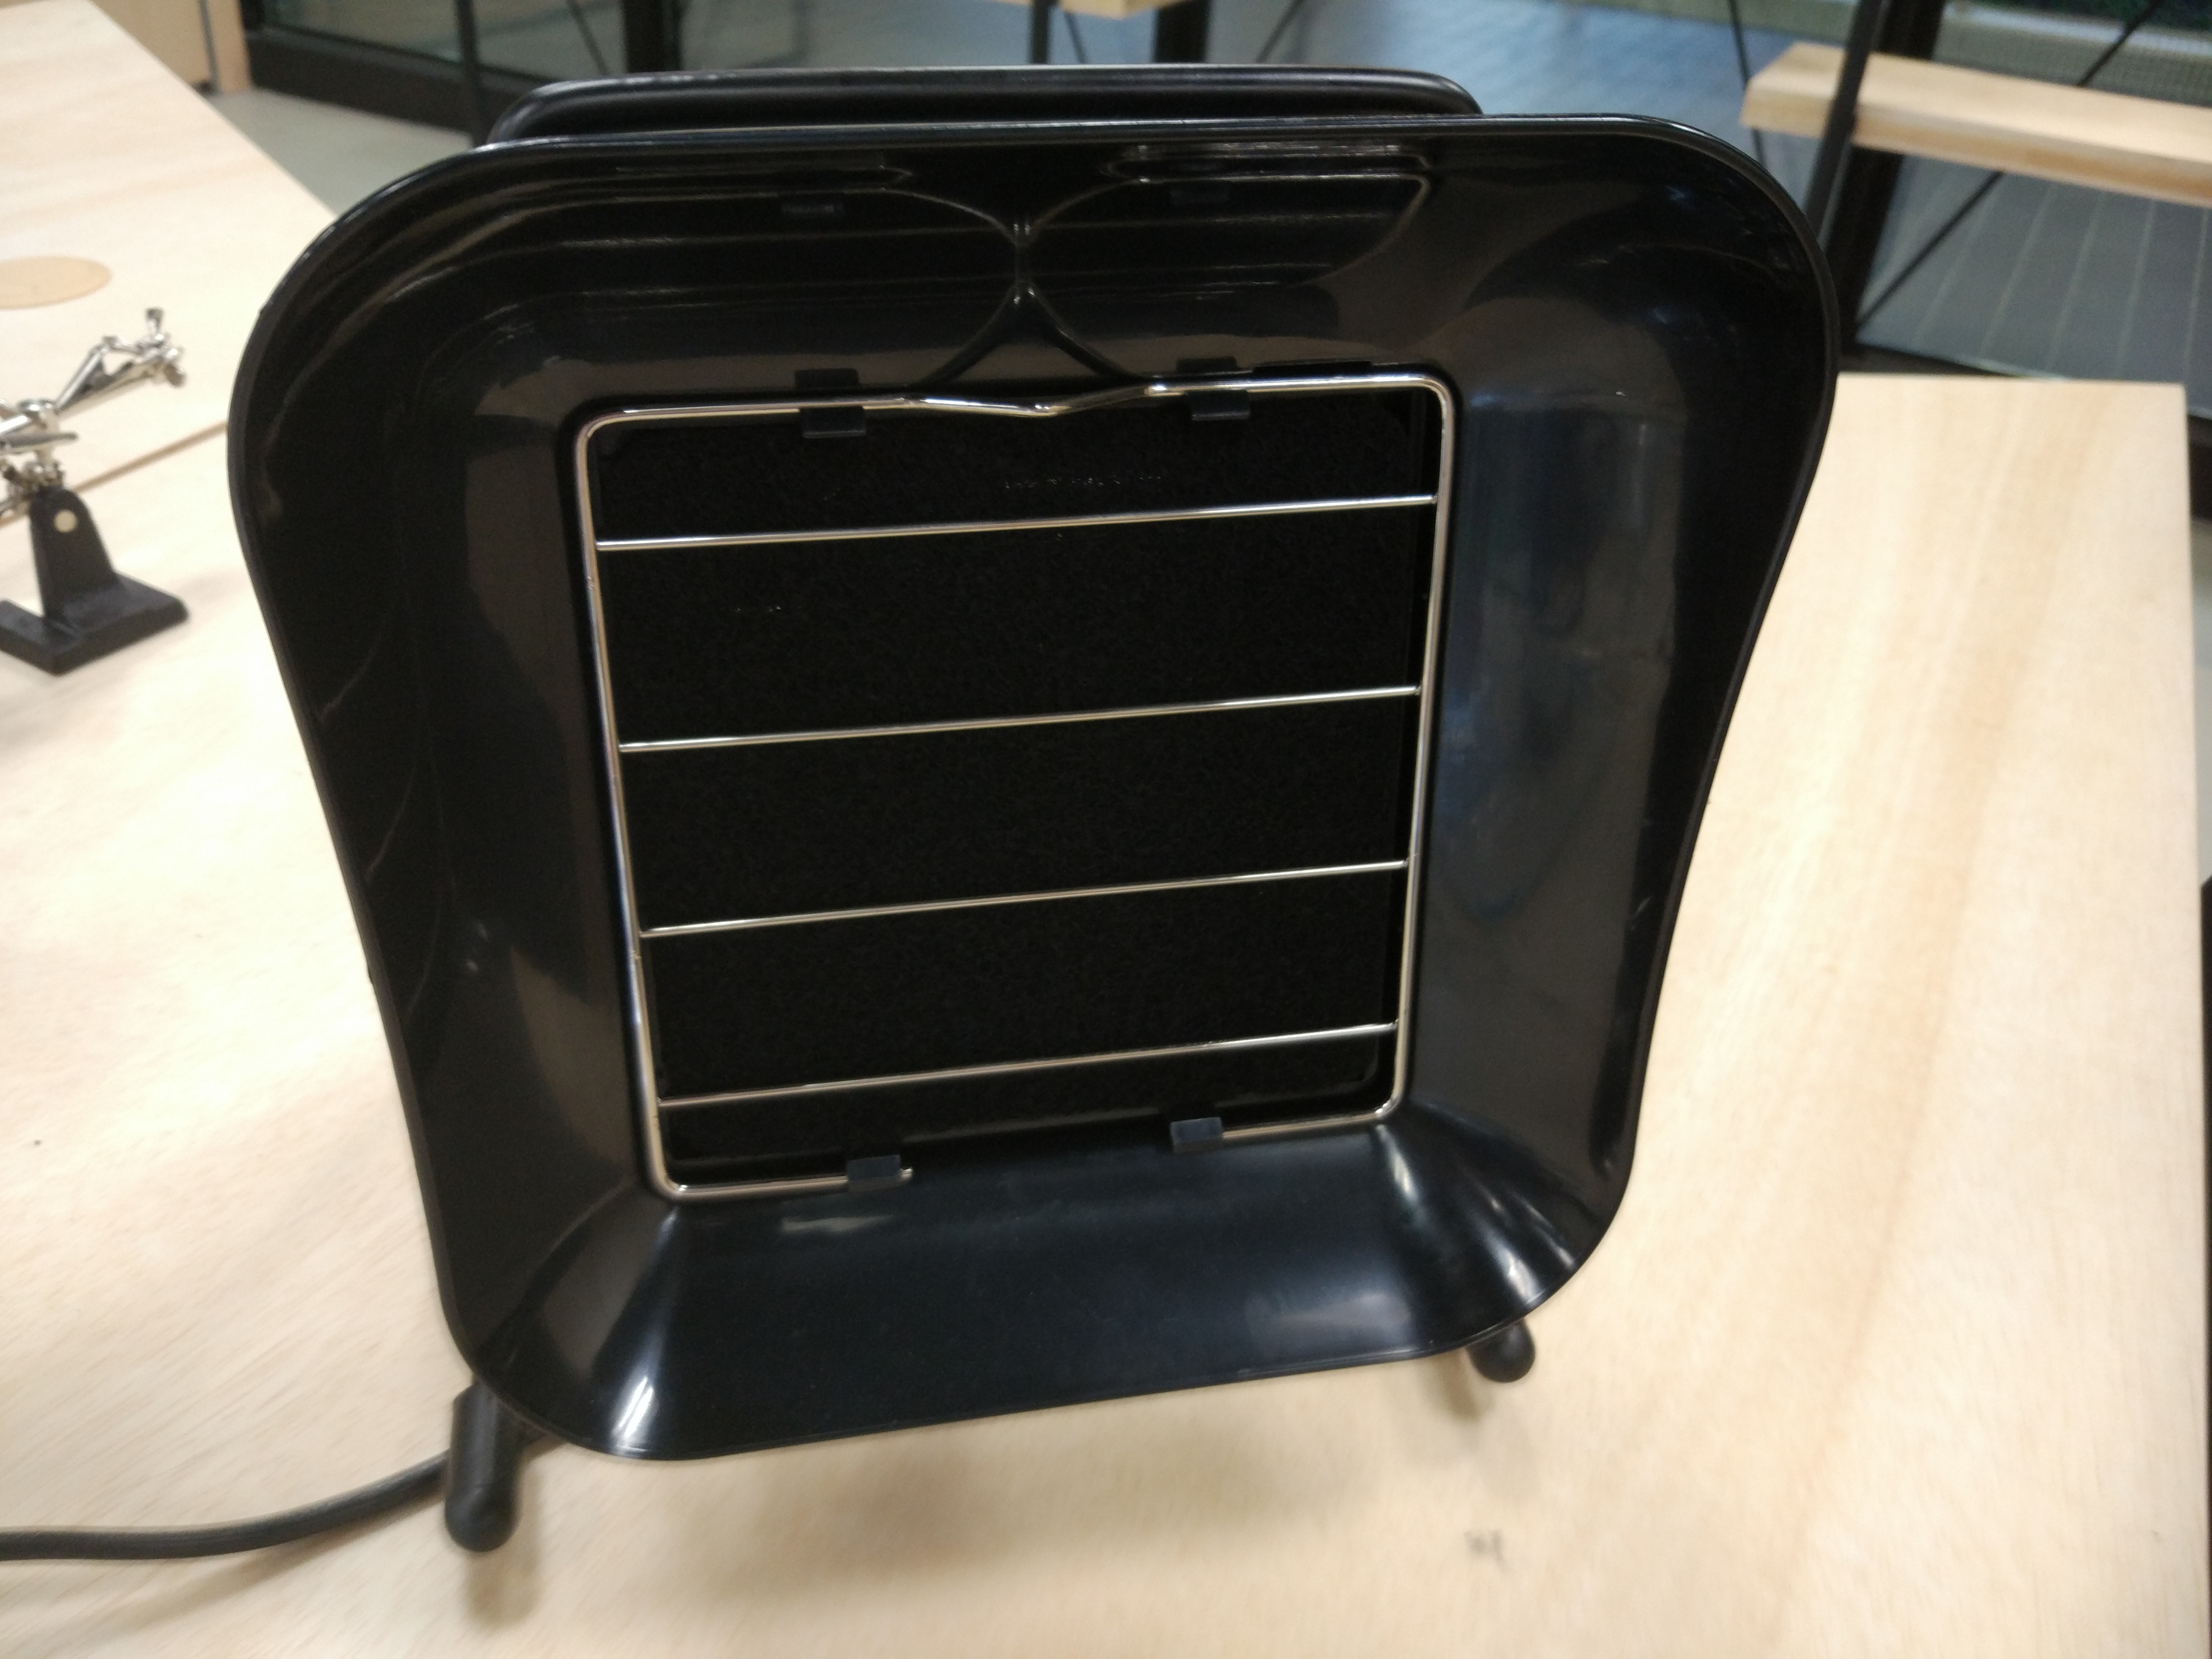
Fume Extractor
The front of a fume extractor holds a carbon filter, behind it is a fan that sucks air into the carbon filter. You should put the fume extractor close to your components, so that you will breathe in minimal harmful fumes. Do NOT stick your soldering iron into the fume extractor to clean it.
What’s next?
Now you have the skills to fix simple electronics, as well as assemble electronic kits! You’ll eventually want to solder finer components, such as surface mount devices (SMD), which can be done by hand or with an oven (usually both). If you’ve made a mistake, there are ways to fix it! We’ll cover that in the next tutorial: desoldering.